
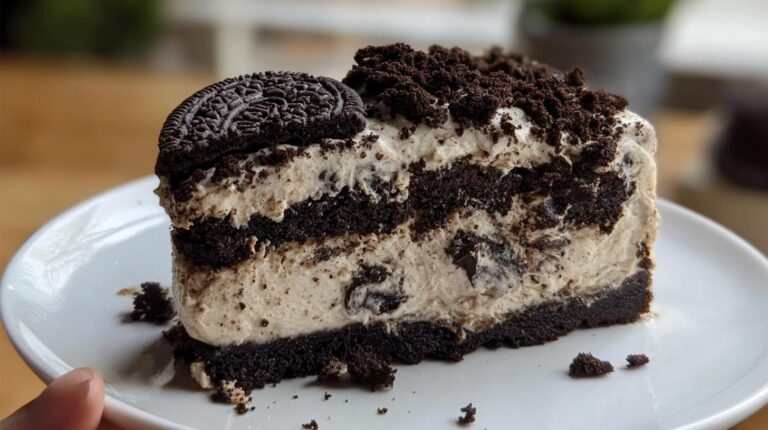
Let me tell you about the easiest, most crowd-pleasing dessert in my summer rotation—this no-bake Oreo ice cream cake! I first made it when my niece begged for “something frozen with lots of cookies” for her birthday, and wow, did it steal the show. No oven required, just layers of buttery Oreo crust and fluffy homemade ice cream that comes together in minutes. The best part? That satisfying crunch when your spoon hits the cookie layer. Trust me, this recipe will become your secret weapon for potlucks, backyard BBQs, or when you just need a cold treat FAST.
Why You’ll Love This Oreo Ice Cream Cake
This recipe has become my go-to dessert for so many reasons – let me count the ways it’ll win you over:
- No oven needed: When it’s hot outside, the last thing you want is to turn on your oven. This cake comes together completely in the fridge or freezer.
- Impossibly easy: Just crush, mix, layer, and freeze. I’ve made this half-asleep at midnight when craving struck!
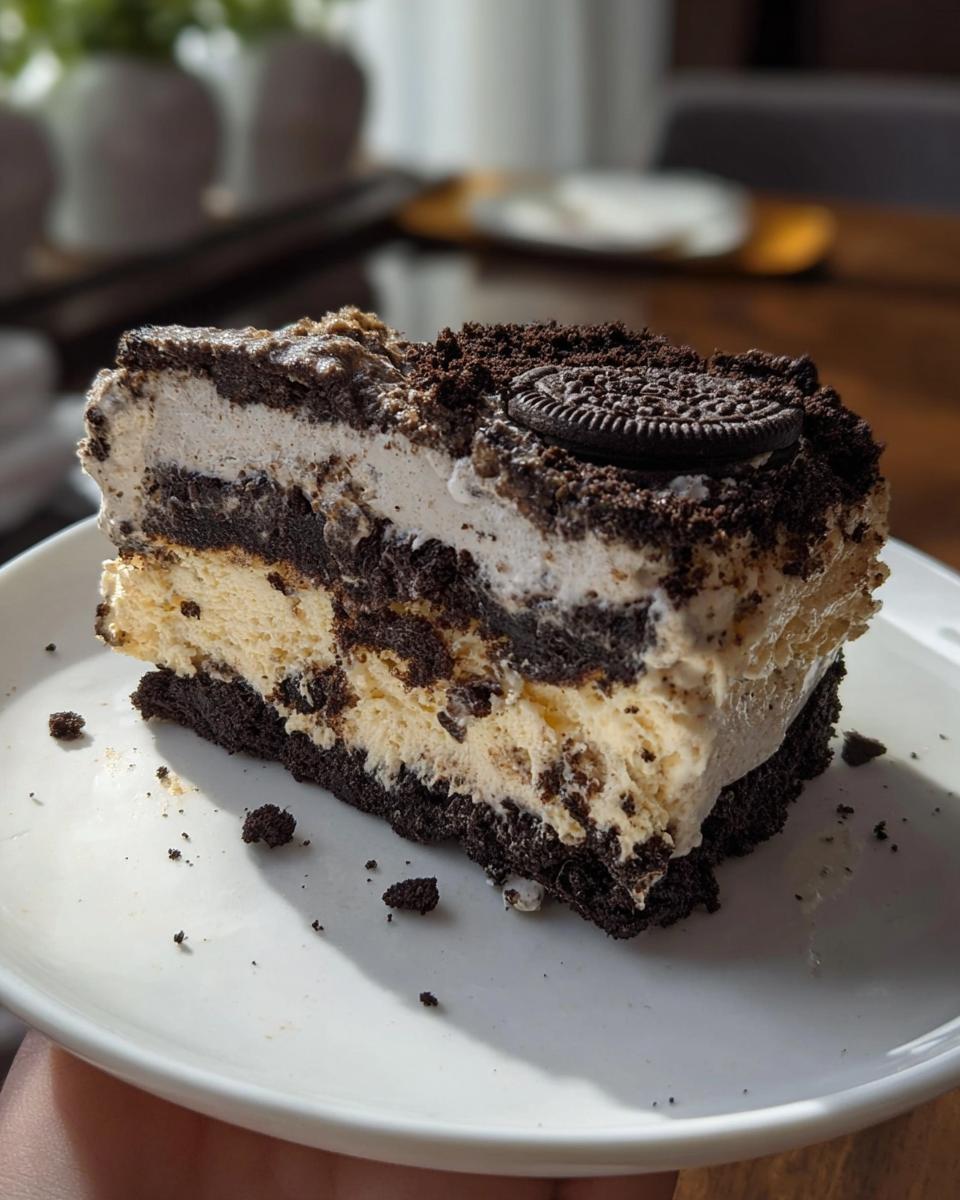
- That magical texture: The creamy filling melts just right against the crisp cookie crust – absolute perfection.
- Summer’s best friend: Chilled desserts just hit different when temperatures rise. This stays firm yet scoopable.
- Total crowd-pleaser: Kids and adults alike go crazy for it. I’ve never brought home leftovers from a party.
Ingredients for Oreo Ice Cream Cake
Grab these simple ingredients – I bet you have most in your pantry already! The magic happens when these basic items come together:
- 2 packs of Oreo cookies (divided): You’ll use most for the crust, but save some to mix into the creamy layer and for topping
- 1/2 cup melted butter: Unsalted works best, but if you only have salted, just skip adding extra salt
- 2 cups heavy whipping cream (chilled): Cold cream whips up fluffier – I always stick mine in the freezer for 10 minutes first
- 1 can (14 oz) sweetened condensed milk: That thick, syrupy goodness is our secret for creamy texture without an ice cream maker
- 1 tsp vanilla extract: Pure vanilla makes all the difference – you’ll taste it!
- Optional: extra Oreos for topping: Because who doesn’t want more cookies? I like pressing whole ones into the top for that bakery-style look
Equipment You’ll Need
You won’t need any fancy gadgets for this – just these basic kitchen tools:
- 9×5 inch loaf pan: My go-to for the perfect thickness
- Food processor or plastic bag + rolling pin: For crushing those Oreos to perfection
- Mixing bowls: One for the crust, one for whipping cream
- Electric mixer: A hand mixer works great for the whipped cream
- Spatula: For gently folding everything together
- Parchment paper: Lifesaver for easy removal later!
How to Make Oreo Ice Cream Cake
Okay, let’s get to the fun part! This recipe is so simple, but I’ll walk you through each step to make sure your Oreo ice cream cake turns out perfect. Follow along, and you’ll have a showstopper dessert in no time.
Step 1: Prepare the Oreo Crust
First, let’s make that irresistible cookie base. Grab about 1.5 packs of Oreos (save the rest for later!) and crush them into fine crumbs. My favorite trick? Toss them in a food processor and pulse until they look like dark sand. No processor? No problem! Seal them in a plastic bag and go to town with a rolling pin – great stress relief!
Mix those crumbs with melted butter until it looks like wet sand. Now, press it firmly into your lined loaf pan. I use the bottom of a measuring cup to really pack it down – this keeps the crust from crumbling later. Aim for an even layer about 1/4 inch thick. Pop this in the freezer while you make the filling – it helps the crust set.
Step 2: Whip the Cream Filling
Here’s where the magic happens! Pour your chilled heavy cream into a cold bowl (I stick mine in the freezer for 10 minutes first). Whip it on medium-high until you get stiff peaks – that means when you lift the beaters, the cream stands straight up without flopping over. Be careful not to overwhip, or you’ll get butter (trust me, I’ve done it!).
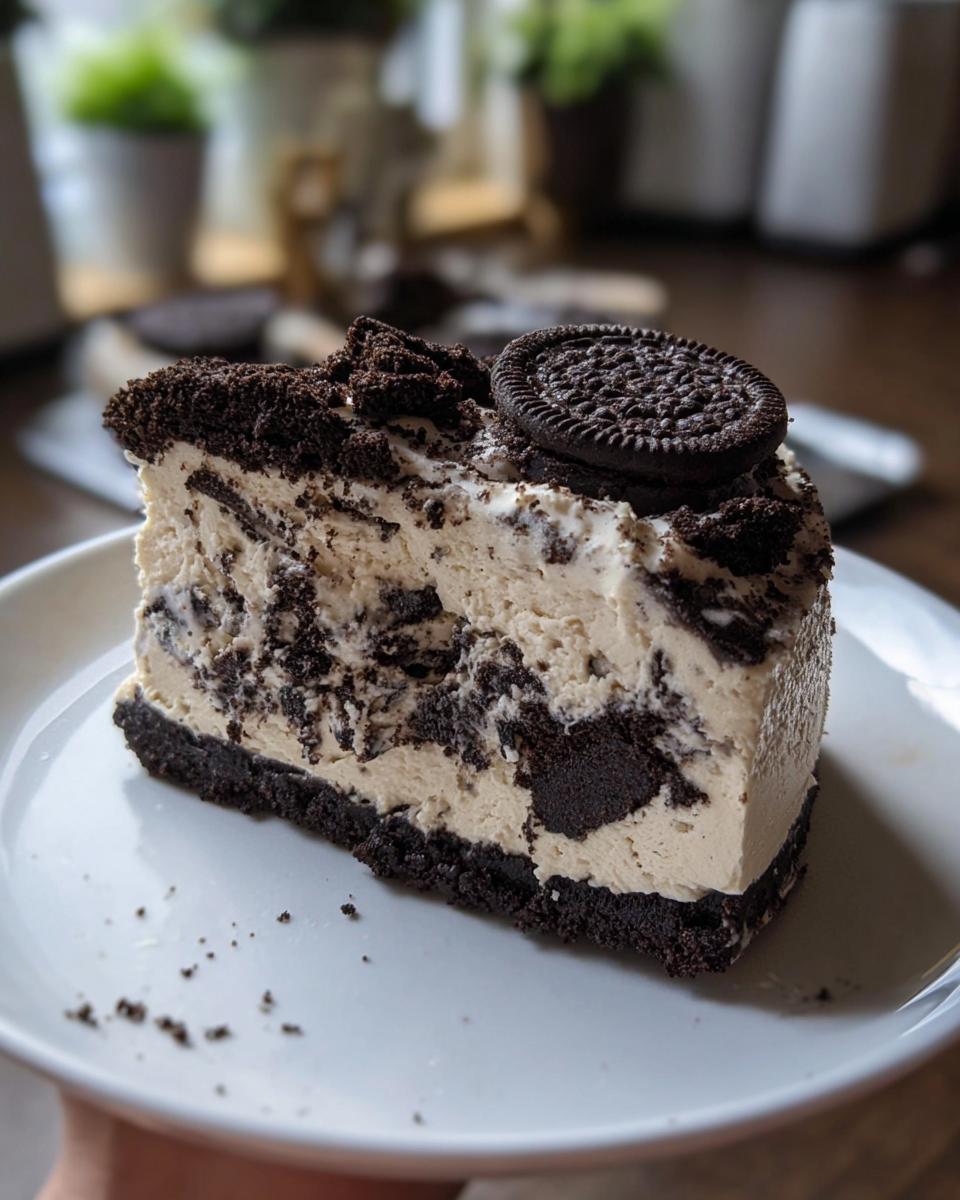
Now, gently fold in the sweetened condensed milk and vanilla with a spatula. Use big, sweeping motions to keep all that air in the cream. Crush up the remaining Oreos and fold those in too – leave some chunks for texture! The mixture should be thick and fluffy, like a cloud with cookie speckles.
Step 3: Layer and Freeze
Time to bring it all together! Pour that dreamy cream mixture over your chilled crust. Smooth the top with your spatula – don’t worry about perfection, those rustic waves look gorgeous. Now, the hardest part: patience! Freeze for at least 4-6 hours, but overnight is even better. The wait is worth it, I promise!
Right before serving, I like to press a few whole Oreos on top for that bakery-wow factor. When you’re ready, lift the cake out using the parchment paper, slice thick slabs, and watch everyone’s eyes light up. That first bite of crisp crust and creamy filling? Absolute heaven!
Tips for the Perfect Oreo Ice Cream Cake
After making this dozens of times (okay, maybe hundreds – my sweet tooth is serious!), I’ve picked up some foolproof tricks:
- Chill everything cold: That means your bowl, beaters – even the can of condensed milk! Cold cream whips up lighter and faster.
- Parchment paper is your BFF: Line that pan with overhanging edges so you can lift the whole cake out in one beautiful piece.
- Freeze overnight if you can: I know it’s tempting to dig in after 4 hours, but waiting gives you perfect, clean slices.
- Crush cookies just right: For the crust, go fine. For the filling, leave some chunks – that texture contrast is everything!
Variations of Oreo Ice Cream Cake
Once you’ve mastered the classic version, try these fun twists – I’ve tested them all, and each brings something special:
- Mint chocolate magic: Add 1/2 tsp peppermint extract to the cream layer – tastes like your favorite thin mints!
- Caramel swirl delight: Drizzle salted caramel between layers – the sweet-salty combo is insane.
- Cookies ‘n cream: Swap half the Oreos for golden cookies – that vanilla-chocolate contrast is next-level.
My nephew begs for the peanut butter version – just swirl in melted PB before freezing. Endless possibilities!
Serving and Storing Oreo Ice Cream Cake
Here’s the best way to serve and keep your masterpiece fresh! Always slice this beauty straight from the freezer with a hot knife (run it under hot water first) for clean cuts. I love plating each slice with a drizzle of chocolate sauce or dollop of whipped cream – it makes guests feel fancy! For storage, wrap tightly in plastic or keep in an airtight container. It stays perfect for 2 weeks frozen – if it lasts that long!
Oreo Ice Cream Cake FAQs
I get asked these questions all the time – here are my tried-and-true answers to make your Oreo ice cream cake adventure foolproof:
Can I make this dairy-free?
Absolutely! Swap the butter for coconut oil, use chilled coconut cream instead of whipping cream, and try sweetened condensed coconut milk. The texture changes slightly, but it’s still delicious!
What if I don’t have condensed milk?
No worries! Blend 1 cup heavy cream with 1/4 cup powdered sugar until thick – it won’t be quite as rich, but works in a pinch. Or try evaporated milk mixed with sugar.
How do I prevent icy crystals?
The condensed milk is key here – its sugar content lowers the freezing point. Also, make sure your freezer isn’t set too cold (around 0°F is perfect).
Can I use a springform pan instead?
Yes! A 7-inch springform works great if you prefer round cakes. Just watch the freezing time – it may set faster since it’s wider.
Why did my whipped cream deflate?
Overmixing is usually the culprit. Fold gently, and work quickly once the cream is whipped. If it happens, just mix everything together – it’ll still taste amazing!
Nutritional Information
Just a heads up – these numbers are estimates since ingredient brands vary (and let’s be real, who actually measures cookie crumbs perfectly?). Per generous slice, you’re looking at about 420 calories, 30g sugar, and 25g fat. The condensed milk and Oreos do most of the heavy lifting here, making this an indulgent treat best enjoyed in happy bites. I always say life’s too short to stress over dessert math – savor every creamy, crunchy mouthful!
Share Your Creation
I’d love to see your Oreo ice cream cake masterpieces! Snap a pic, tag me on Instagram, or leave a comment below – nothing makes me happier than seeing your delicious creations. Happy baking!
Print
Irresistible Oreo Ice Cream Cake in 5 Easy Steps
- Total Time: 6 hours 20 minutes
- Yield: 6 servings 1x
- Diet: Vegetarian
Description
A simple and delicious no-bake Oreo ice cream cake with layers of cookie crust and creamy homemade ice cream filling.
Ingredients
- 2 packs of Oreo cookies (divided)
- 1/2 cup melted butter
- 2 cups heavy whipping cream
- 1 can (14 oz) sweetened condensed milk
- 1 tsp vanilla extract
- Optional: extra Oreos for topping
Instructions
- Crush 1.5 packs of Oreos into fine crumbs. Mix with melted butter and press firmly into the bottom of a lined loaf pan.
- Whip the heavy cream until stiff peaks form. Gently fold in the condensed milk, vanilla extract, and crushed Oreos.
- Pour the fluffy mixture over the crust, smoothing the top evenly. Top with more crushed Oreos or a whole cookie.
- Freeze for at least 4–6 hours, or overnight, until fully set.
- Lift from the pan, slice thick, and serve cold.
Notes
- Use a food processor for evenly crushed Oreos.
- For a firmer texture, freeze overnight.
- Add chocolate syrup or whipped cream as a topping.
- Prep Time: 20 minutes
- Cook Time: 0 minutes
- Category: Dessert
- Method: No-Bake
- Cuisine: American
Nutrition
- Serving Size: 1 slice
- Calories: 420
- Sugar: 30g
- Sodium: 200mg
- Fat: 25g
- Saturated Fat: 15g
- Unsaturated Fat: 8g
- Trans Fat: 0g
- Carbohydrates: 45g
- Fiber: 2g
- Protein: 5g
- Cholesterol: 60mg